If you’ve recently switched from Windows to macOS, possibly because the affordable MacBook Neo caught your eye, you might feel a bit overwhelmed. While Windows and macOS share some similarities, Apple’s operating system works differently in many ways. One of the key elements you need to understand right away is the macOS Dock.
The Dock is Apple’s answer to the Windows taskbar, but it offers unique features that make it a central part of navigating your Mac. In this guide, we’ll explain what the Dock is, how it works, and how you can fully customize it to suit your workflow.
What is the macOS Dock?
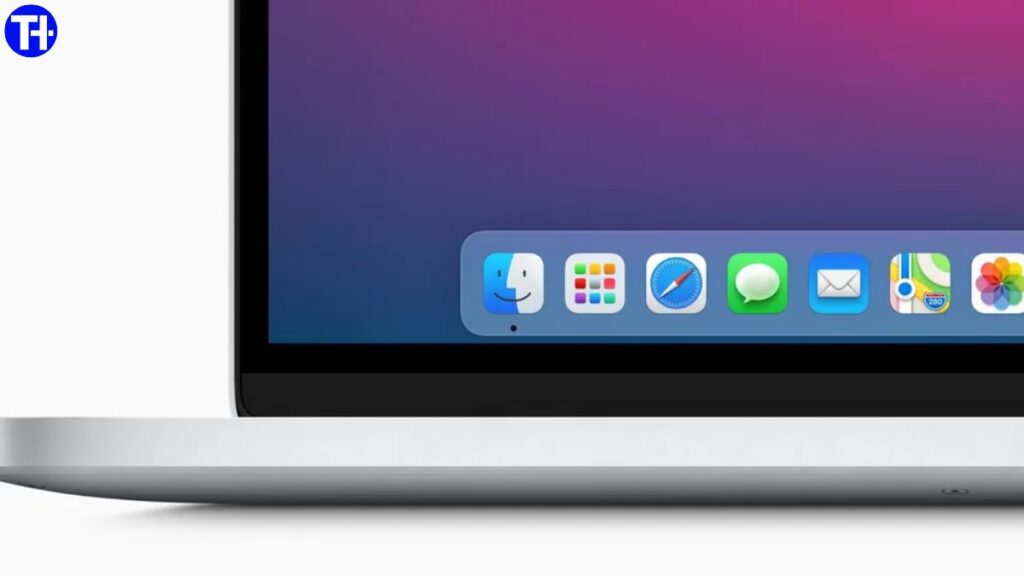
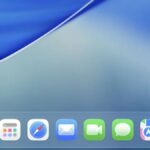
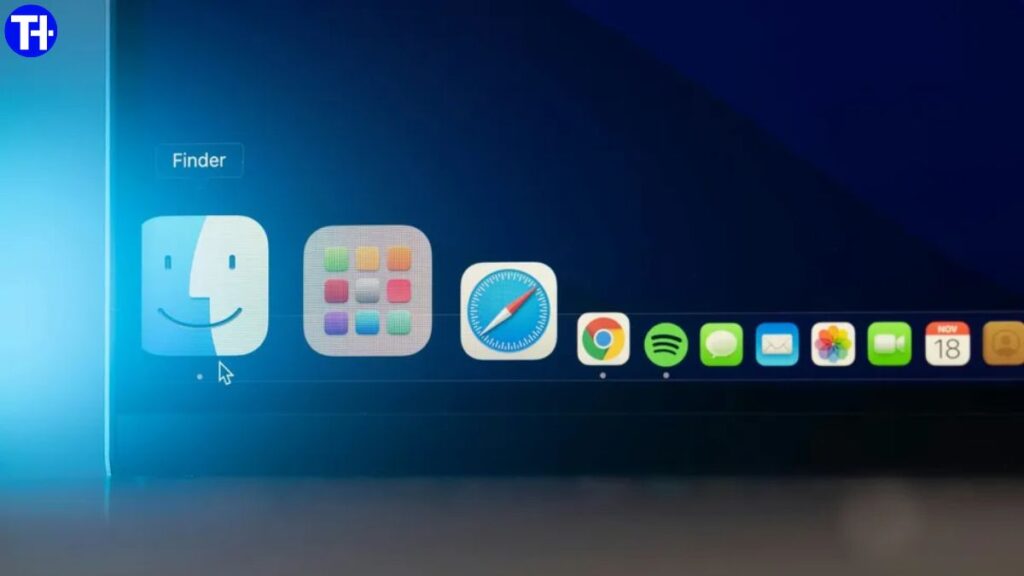
The macOS Dock is a toolbar typically located at the bottom of your screen, designed to give quick access to your most-used apps, files, and folders. On the surface, it may resemble the Windows taskbar, but it goes beyond being just a simple launcher.
Here’s what the Dock offers:
- Quick App Launching: Click on an app icon in the Dock to open it instantly.
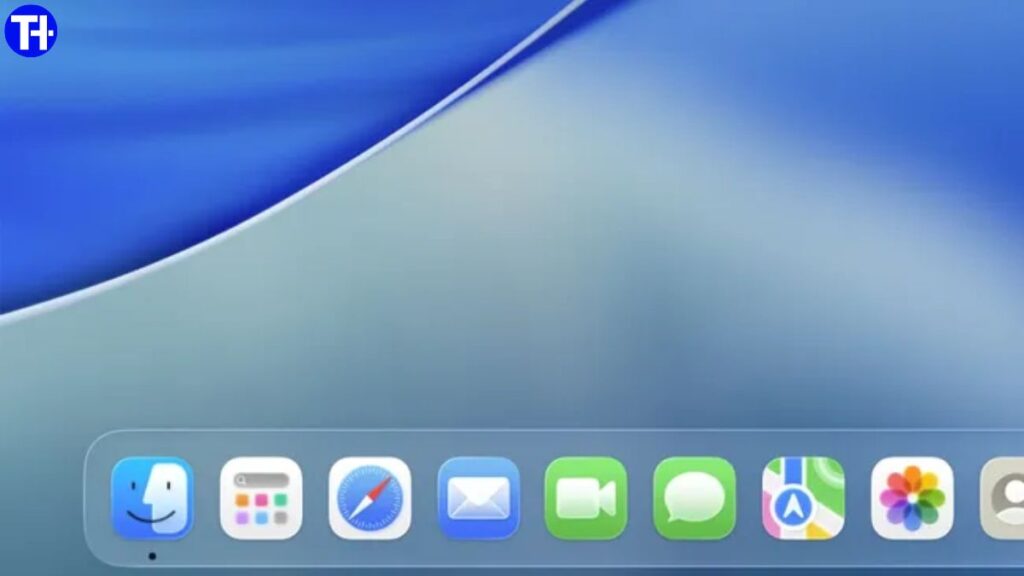
- Switch Between Apps: Apps that are currently open display a small dot beneath their icon, making it easy to jump between running applications.
- Close Apps: Right-click any app icon and select Quit to close it. Some apps also offer additional options, like opening a new window in Finder.
By default, the Dock contains a set of Apple apps, the Downloads folder, and the Trash. Unlike Windows, where the Recycle Bin sits on the desktop, macOS keeps the Trash in the Dock for easier access.
The Dock isn’t just limited to apps. The right-hand section of the Dock, separated by a line, can hold folders, files, and even minimized windows. This allows for quick access to items you use frequently without digging through Finder or other folders.
Dock Notifications
Another useful feature of the Dock is notifications. Apps that need your attention show a red badge on their icon. For instance, if you have an unread email in the Mail app, a red number appears on its icon. This makes the Dock a simple but effective notification center.
Force Quit Applications
If an app becomes unresponsive, you can force quit it directly from the Dock. Simply right-click the app icon and select Force Quit. This is often faster than using Command + Option + Esc, especially for newcomers.
macOS Dock vs Windows Taskbar
For Windows users, the Dock may feel familiar, but there are several key differences:
| Feature | Windows Taskbar | macOS Dock |
|---|---|---|
| App Launch | Click app icons | Click app icons |
| Open Apps Indicator | Highlighted icons | Small dot under the icon |
| Default Position | Bottom | Bottom (default), left, or right |
| Start Menu/Search | Start button + search bar | Launchpad / Apps button + Spotlight |
| Trash/Recycle Bin | Desktop icon | Dock icon |
Key Differences
- Apps Button / Launchpad: The Dock uses the Apps button (macOS Tahoe or later) or Launchpad (Sequoia or earlier) instead of the Windows Start button. Both give you access to all installed apps.
- Search Function: Unlike Windows, the Dock doesn’t have a built-in search bar. Instead, macOS uses Spotlight (press Command + Space) for global search.
- Handoff Integration: If you use multiple Apple devices (iPhone, iPad, Apple Watch) with the same Apple ID, your currently open app from another device appears in the Dock. This is part of Apple’s Handoff system, allowing seamless continuity between devices.
- Drag and Drop Functionality: You can drag a file over an app icon in the Dock to open it with that app. Holding Command while clicking shows the file or app in Finder. Holding Option while clicking hides other apps.
How to Customize the macOS Dock
Customizing the Dock makes your workflow smoother and lets you keep your favorite apps and files within easy reach.
Adding and Removing Apps
- Add an App: Drag an app from the Applications folder or Launchpad to the Dock and release it.
- Keep Apps in Dock: Open an app, right-click its Dock icon, select Options > Keep in Dock.
- Remove an App: Click and hold an icon, drag it out of the Dock, and release when you see Remove. Right-click and select Options > Remove from Dock also works.
- Reorder Apps: Drag icons left or right to change their order.
Adjusting Dock Settings from the Dock
Hover over the vertical separator line on the right-hand side of the Dock, then right-click to see options:
- Turn Hiding On: Automatically hides the Dock until you move your cursor to its position.
- Turn Magnification On: Increases icon size when you hover over them.
- Position on Screen: Move the Dock to the left, bottom, or right of the screen.
- Minimize Using: Choose Genie Effect or Scale Effect for window minimization.
Advanced Dock Settings in System Settings
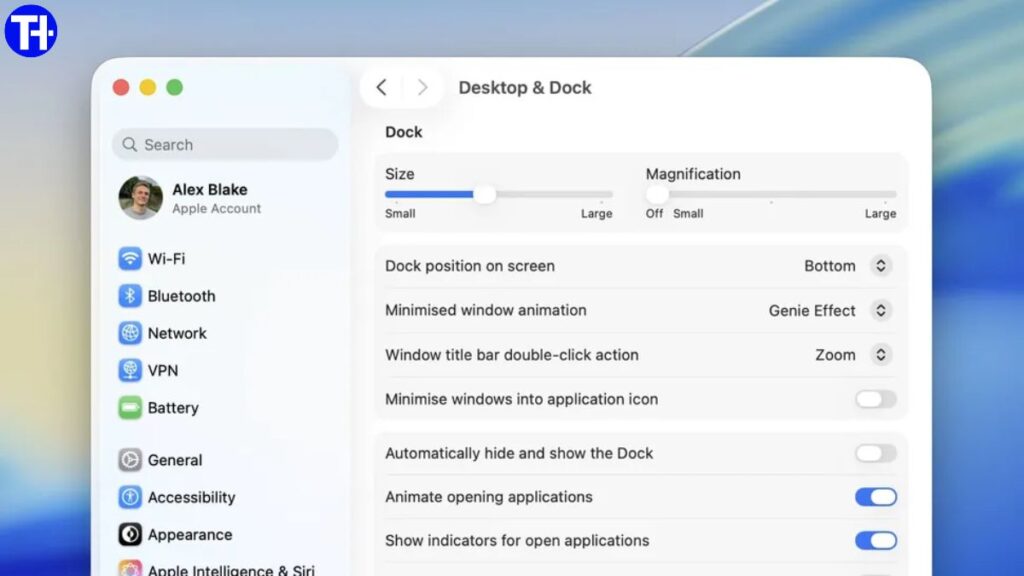
For deeper customization, open System Settings (cog icon in the Dock or Apple menu > System Settings) and navigate to Desktop & Dock.
Here are the key options:
- Size: Adjust the Dock’s overall size.
- Magnification: Control how large icons grow when hovering (enable first via Dock options).
- Position: Choose left, bottom, or right.
- Minimizing Animation: Genie Effect or Scale Effect.
- Minimize Windows Into Application Icon: Choose whether minimized windows collapse into the Dock icon.
- Double-Click Window Title Bar Action: Set double-clicking the title bar to minimize, maximize, or do nothing.
- Additional Options:
- Auto-hide Dock
- Bounce icons on app launch
- Show dots under open apps
- Show suggested and recent apps on the Dock’s right-hand side
With these settings, you can make the Dock fully tailored to your needs and workflow.
Tips to Master the macOS Dock
To truly get the most out of the Dock on your MacBook Neo, here are some practical tips:
- Keyboard Shortcuts: Use Command + Tab to switch between open apps quickly.
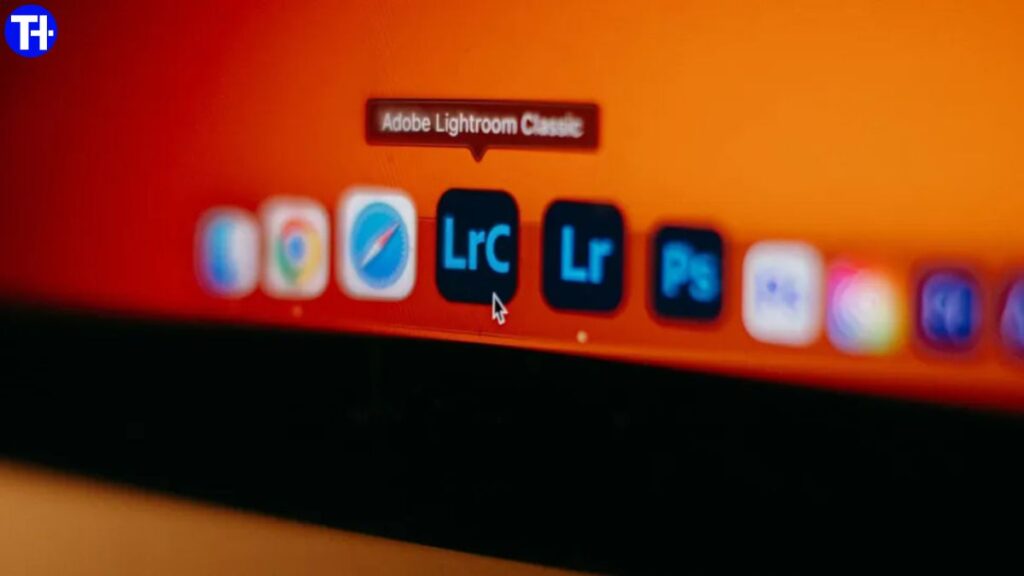
- Drag Files to Apps: Drag files over app icons to instantly open them in the chosen app.
- Use Stacks: Folders in the Dock can be displayed as a stack, showing recent files in a grid or fan layout.
- Quick Access to Trash: Right-click Trash for options like Empty Trash or Secure Empty Trash.
- Split Open Apps and Shortcuts: Keep apps on the left side and frequently accessed folders/files on the right side of the Dock for better organization.
Why the Dock is a Powerful Productivity Tool
At first glance, the Dock may seem like a simple app launcher. However, once you understand its full capabilities, it becomes one of the most productivity-focused tools in macOS:
- Provides instant access to your favorite apps and files
- Acts as a notification center for apps
- Allows quick app switching and multitasking
- Integrates seamlessly with other Apple devices through Handoff
- Offers advanced customization to suit any workflow
By mastering the Dock, you can navigate your Mac more efficiently, whether you’re a new user transitioning from Windows or an experienced Mac user.
Conclusion
The macOS Dock is more than just Apple’s version of the Windows taskbar. It’s a central hub for launching, organizing, and managing your apps, files, and notifications. With options for customization, keyboard shortcuts, and integration with other Apple devices, it’s a feature that boosts productivity and makes macOS intuitive and efficient.
Whether you want a clean Dock with just your essentials or a feature-packed setup with files, folders, and magnified icons, mastering the Dock is a key step in becoming proficient on your MacBook Neo.
Take the time to explore the Dock’s settings, experiment with its features, and you’ll soon see how much faster and smoother your macOS experience can become.
Related posts:
 ASUS ROG Strix G16 and TUF Gaming F16 With RTX 5050 GPU Launched in India: Price, Specs, and Availability
 MacBook screens can be broken with a simple greeting card, viral TikTok video warns – and Apple has explained the reason why
 Apple could soon bring 5G to the MacBook and I’m starting to love the idea – here’s why
 I’ve been testing the MSI Claw 8 AI+ and Asus ROG Ally for weeks – and so far, there’s a clear winner